
Grouping Salesforce data on the map is essential to helping you target specific customers and plan sales routes based off data from Salesforce. In this post learn about grouping your data in Sales Navigator for Salesforce and the difference between custom and automatic group types. Topics covered in this section:
- Getting Started with Groups
- Group Types: Custom, Salesforce and External
- Groups Menu Overview
Getting Started with Groups
When you import your data from Salesforce, Sales Navigator automatically organizes your data into groups. In order to access groups, you can tap open the app menu and then tap on the Groups icon ( ![]() ).
).
All objects and views imported will be automatically added into a group and assigned a custom pin. Salesforce objects, such as accounts, contacts and leads, will include data from all subsequent views imported.
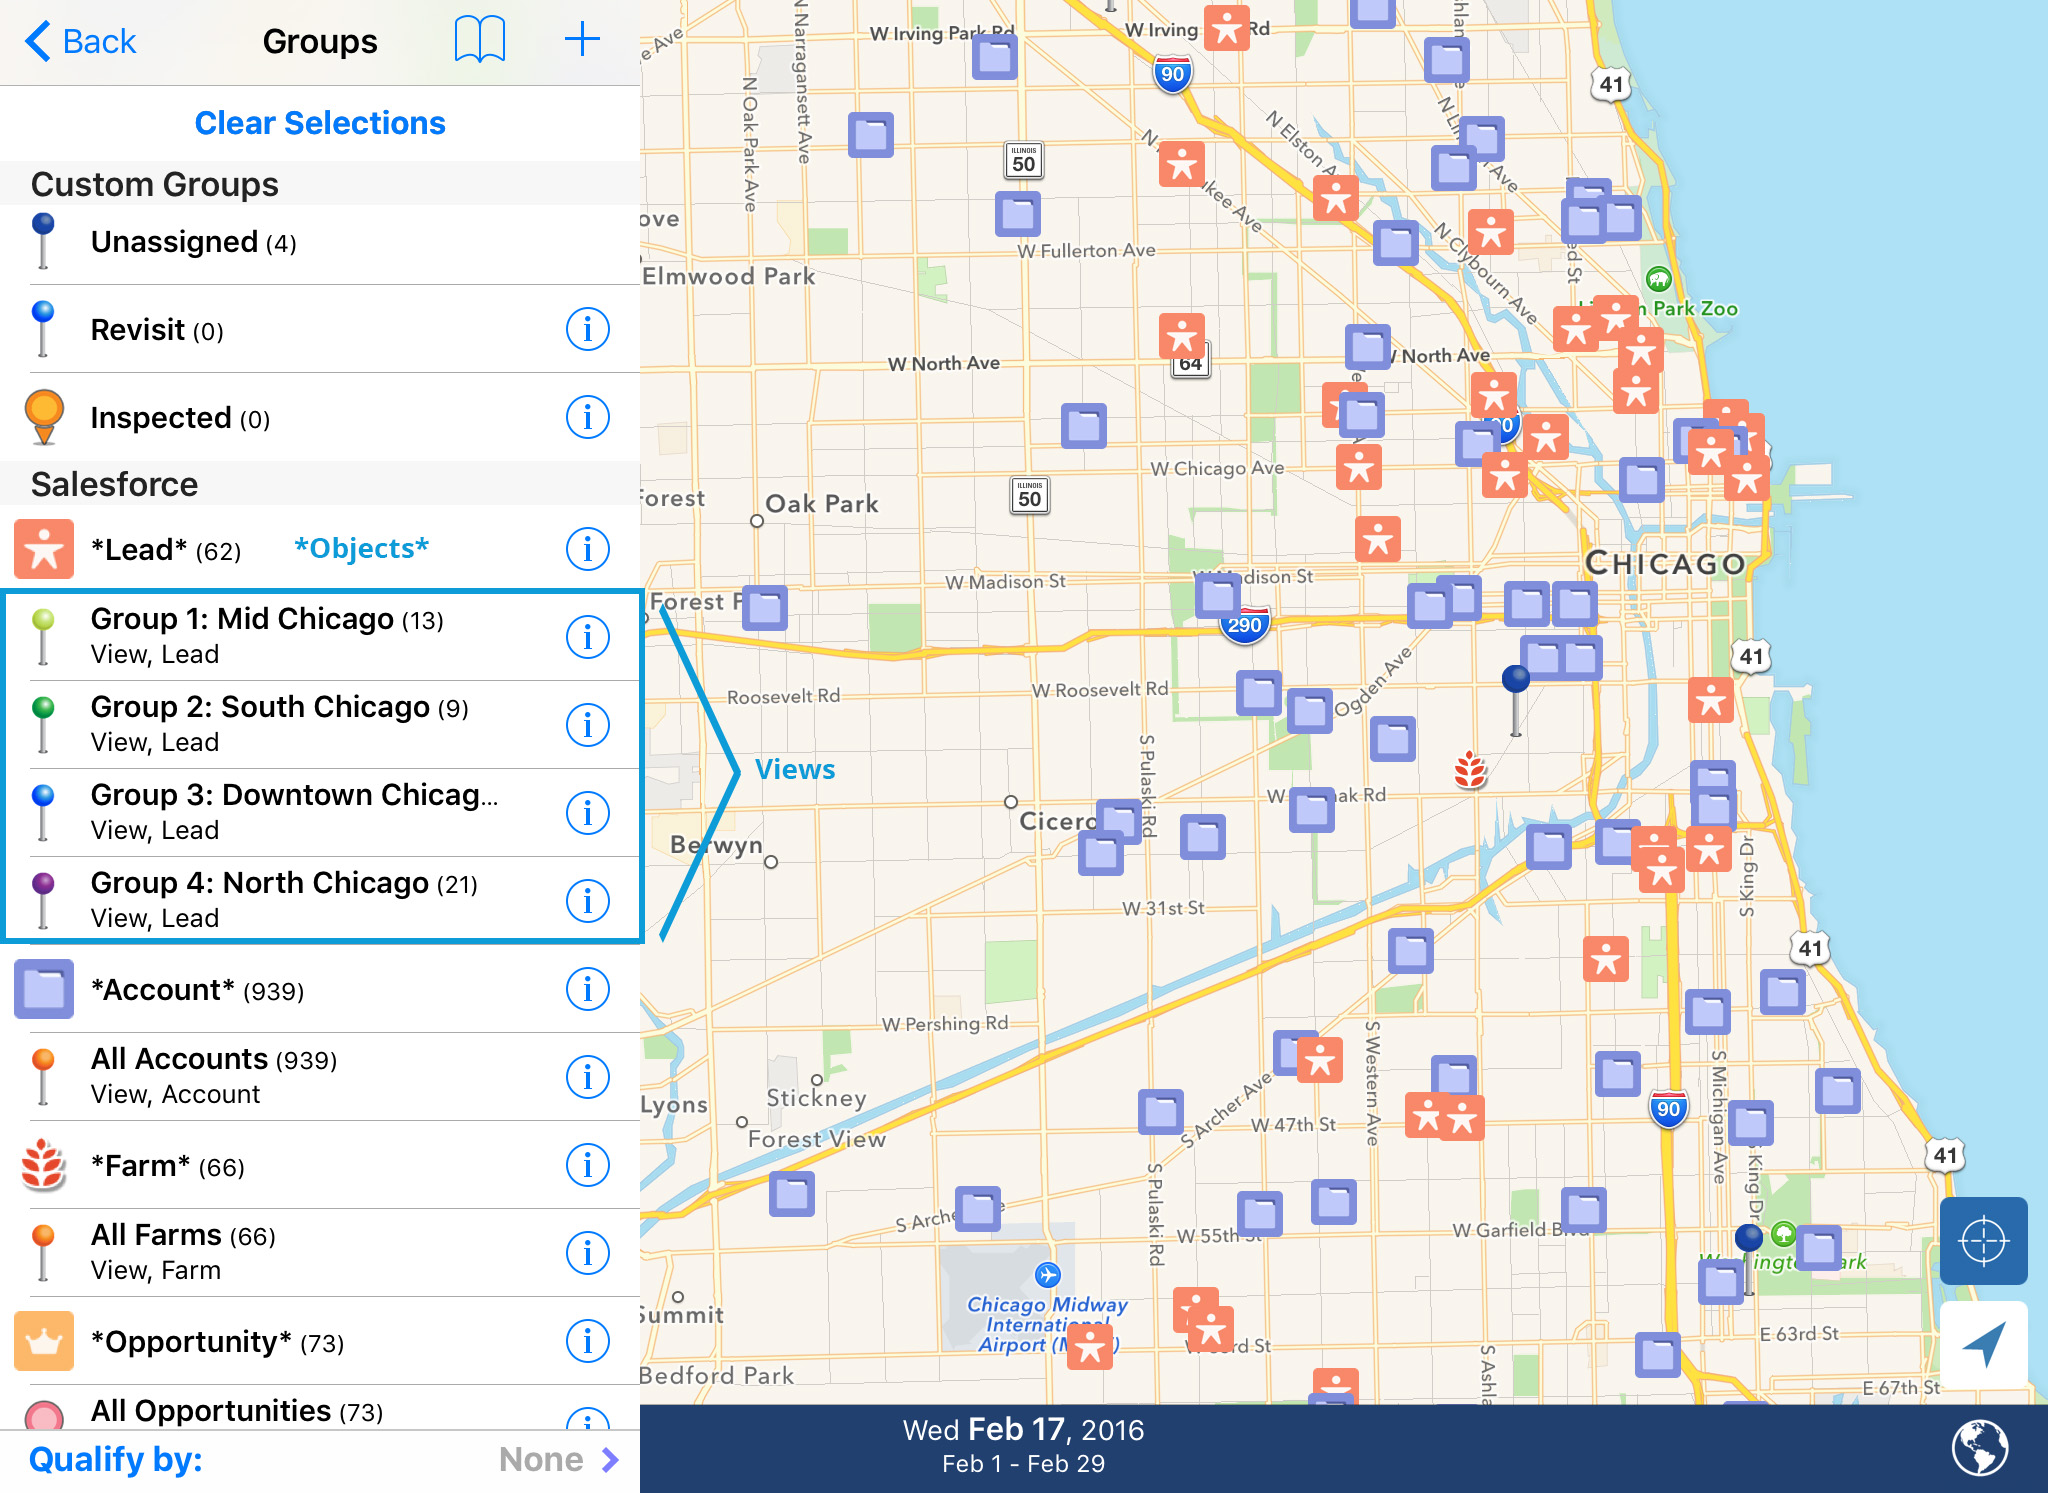
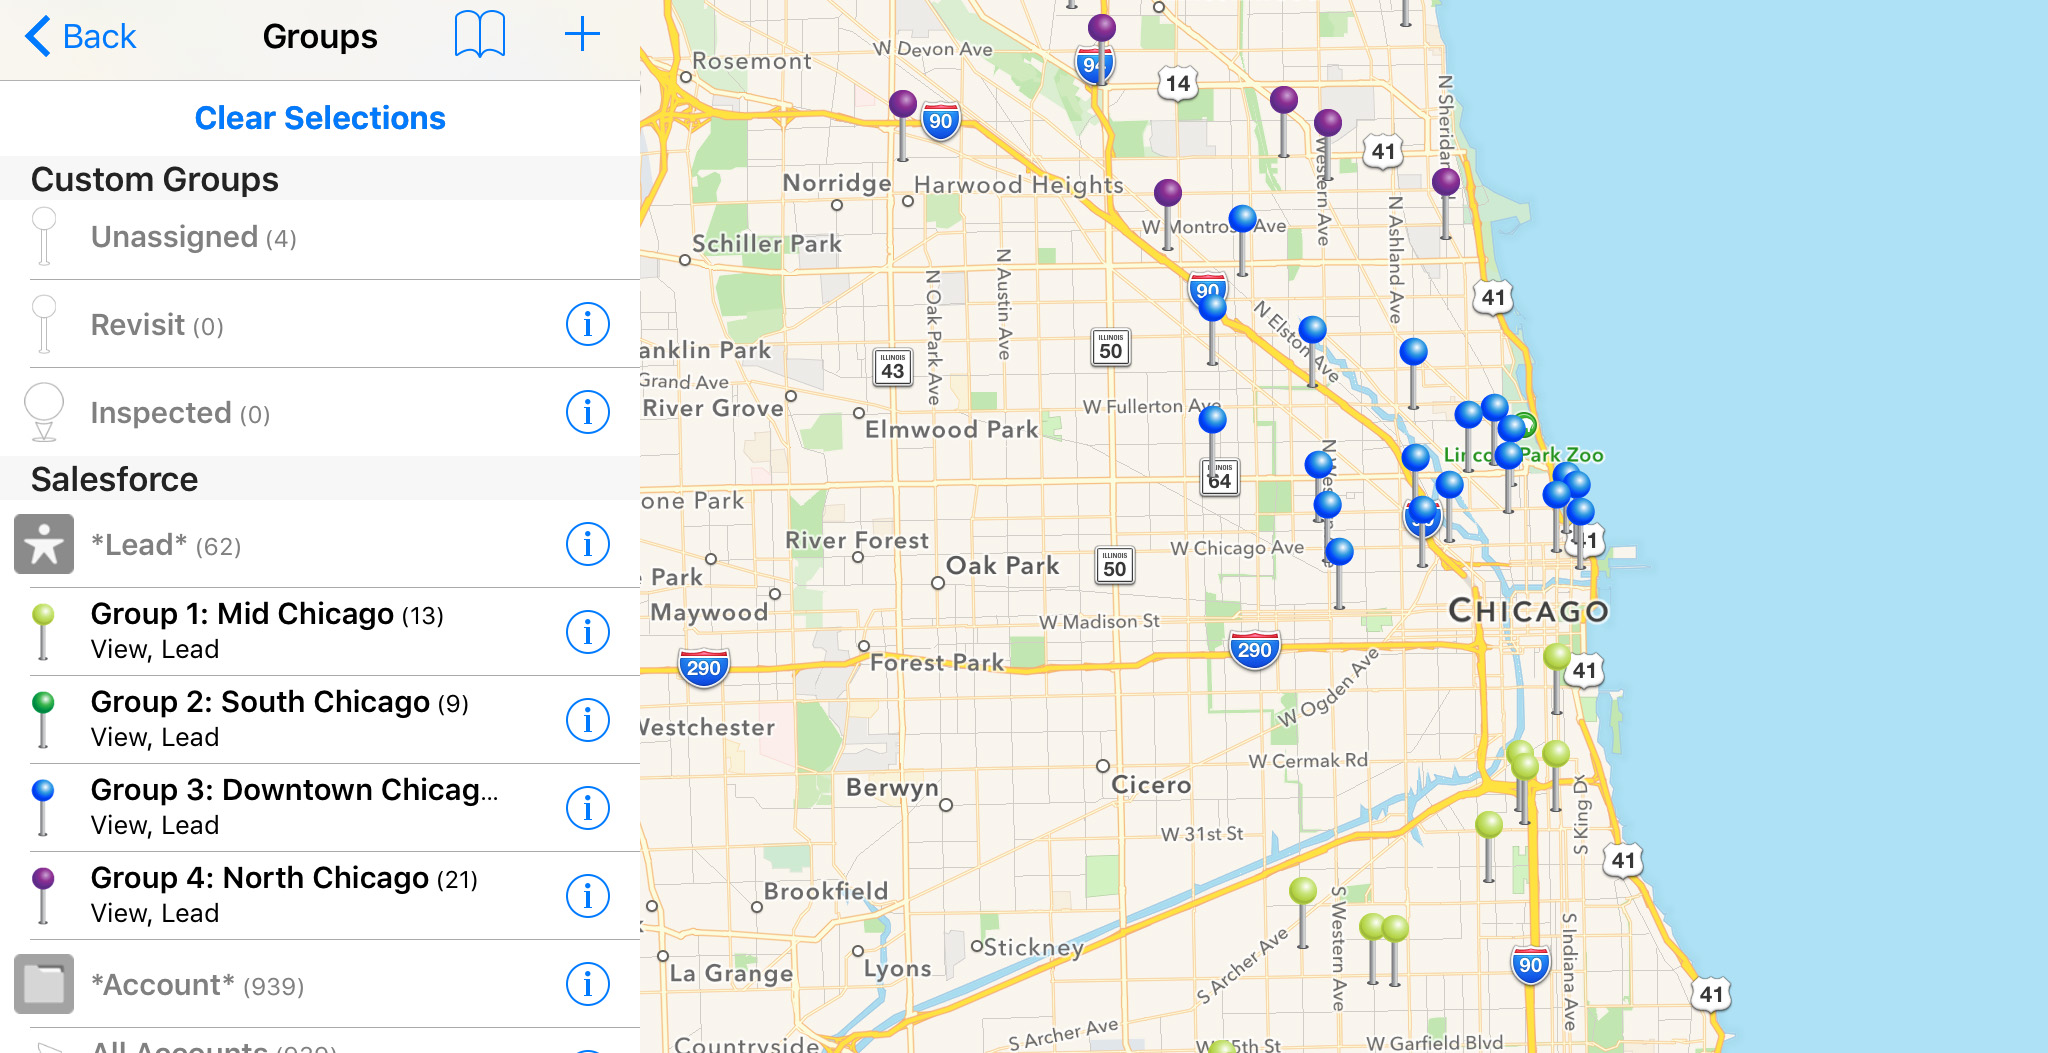
To visualize specific groups on the map, tap the group on/off. Groups not being shown on the map are in gray.
Group Types: Custom, Salesforce, External
Sales Navigator for Salesforce has three different groups types: Custom, Salesforce, and External. Learn the differences between the three groups below.
Custom Groups
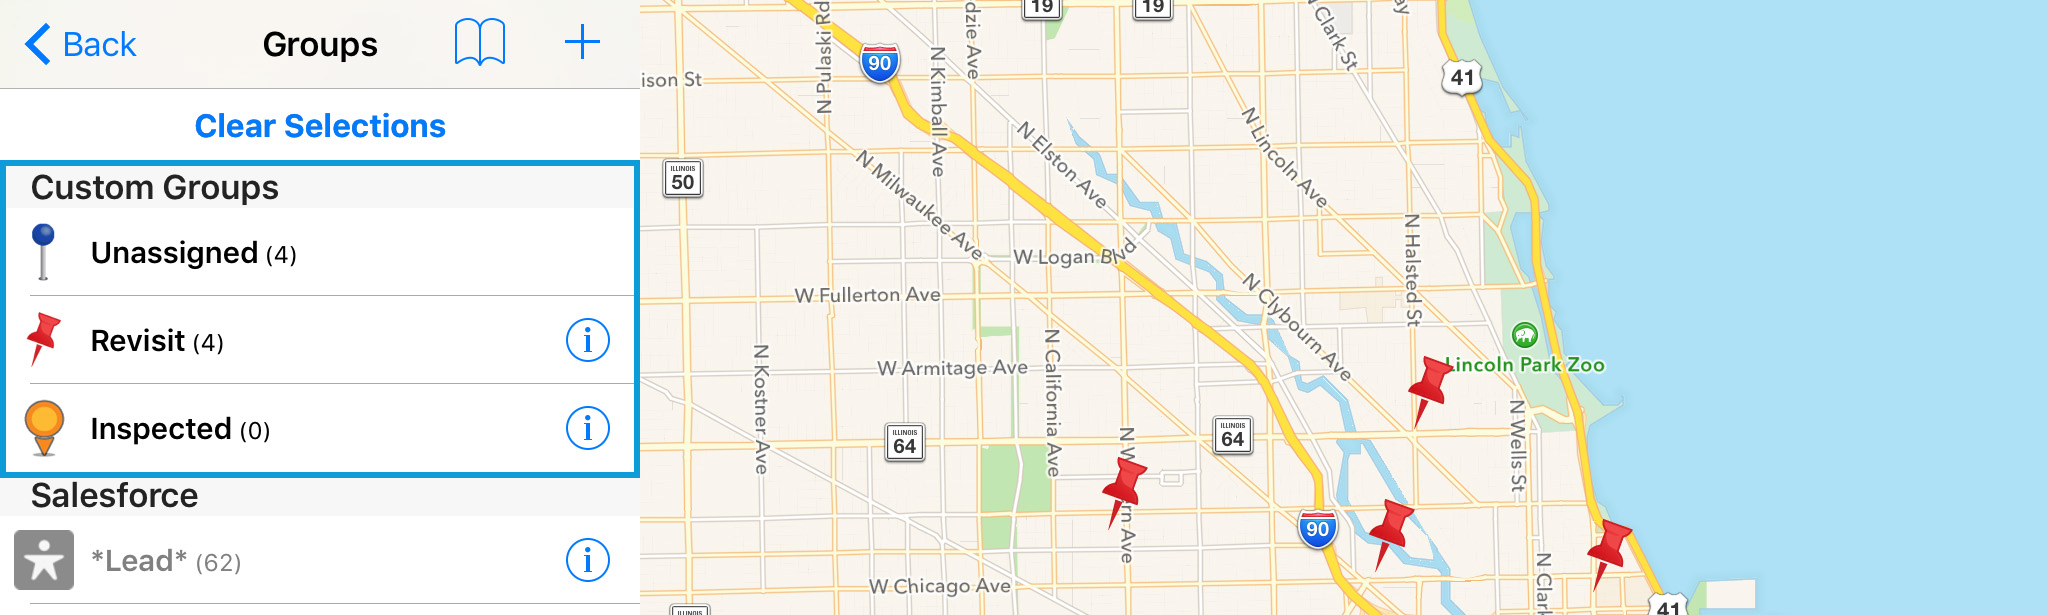
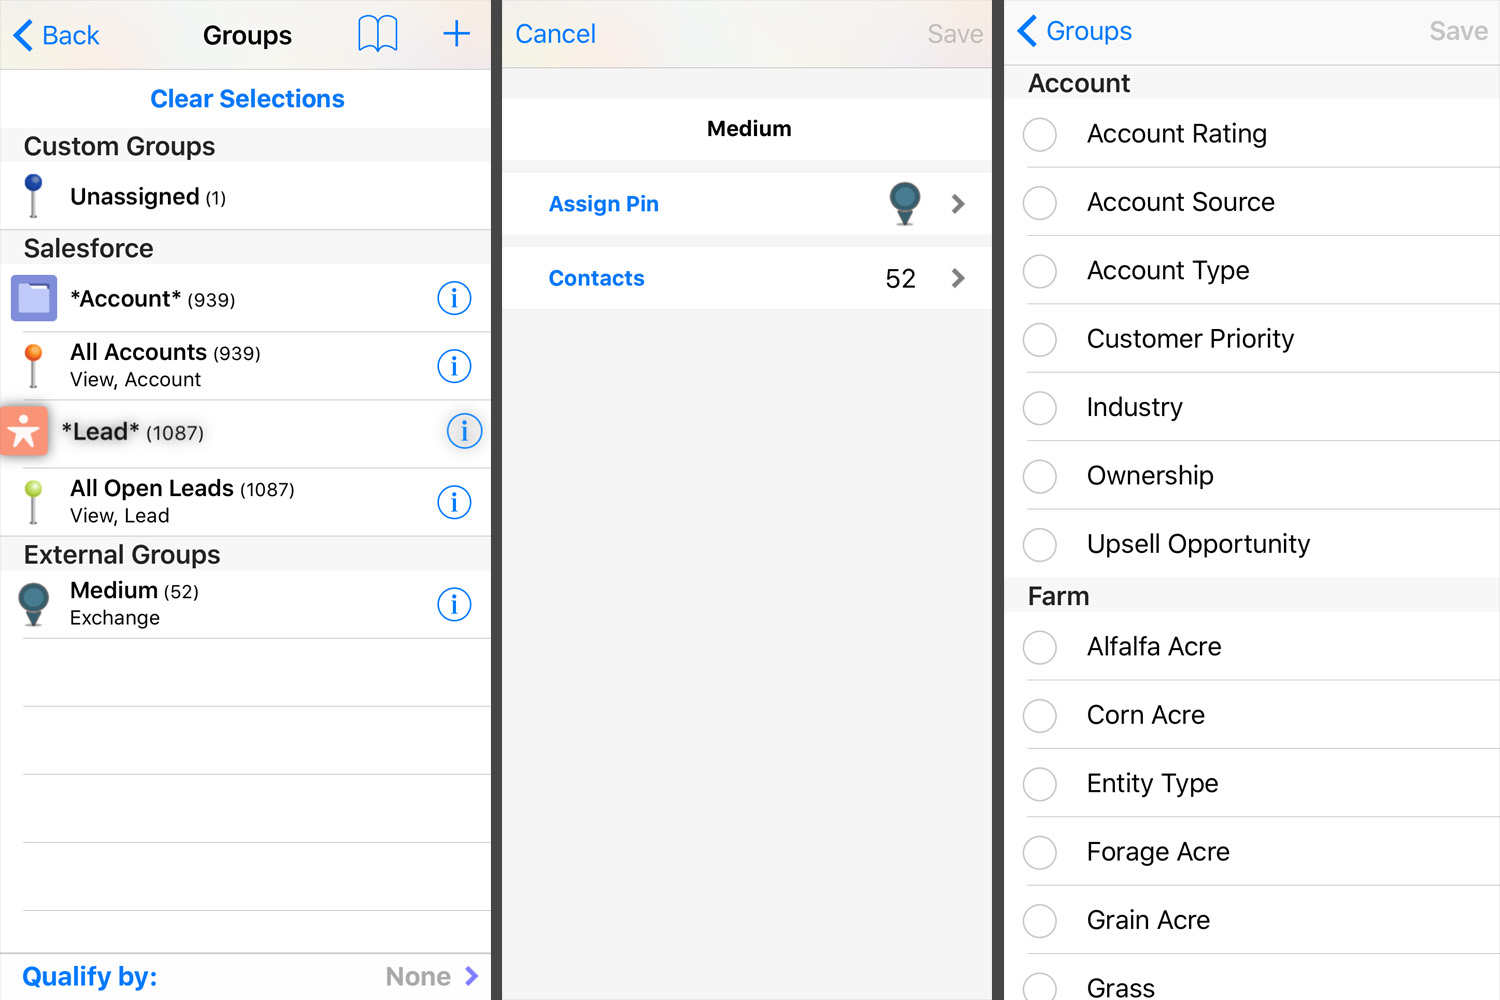
Custom groups are created directly in Sales Navigator and are local to your device. Sales Navigator automatically generates a custom group called ‘Unassigned’ that allows you to view all your contacts from your device address book that are not assigned to a group.
Salesforce Groups
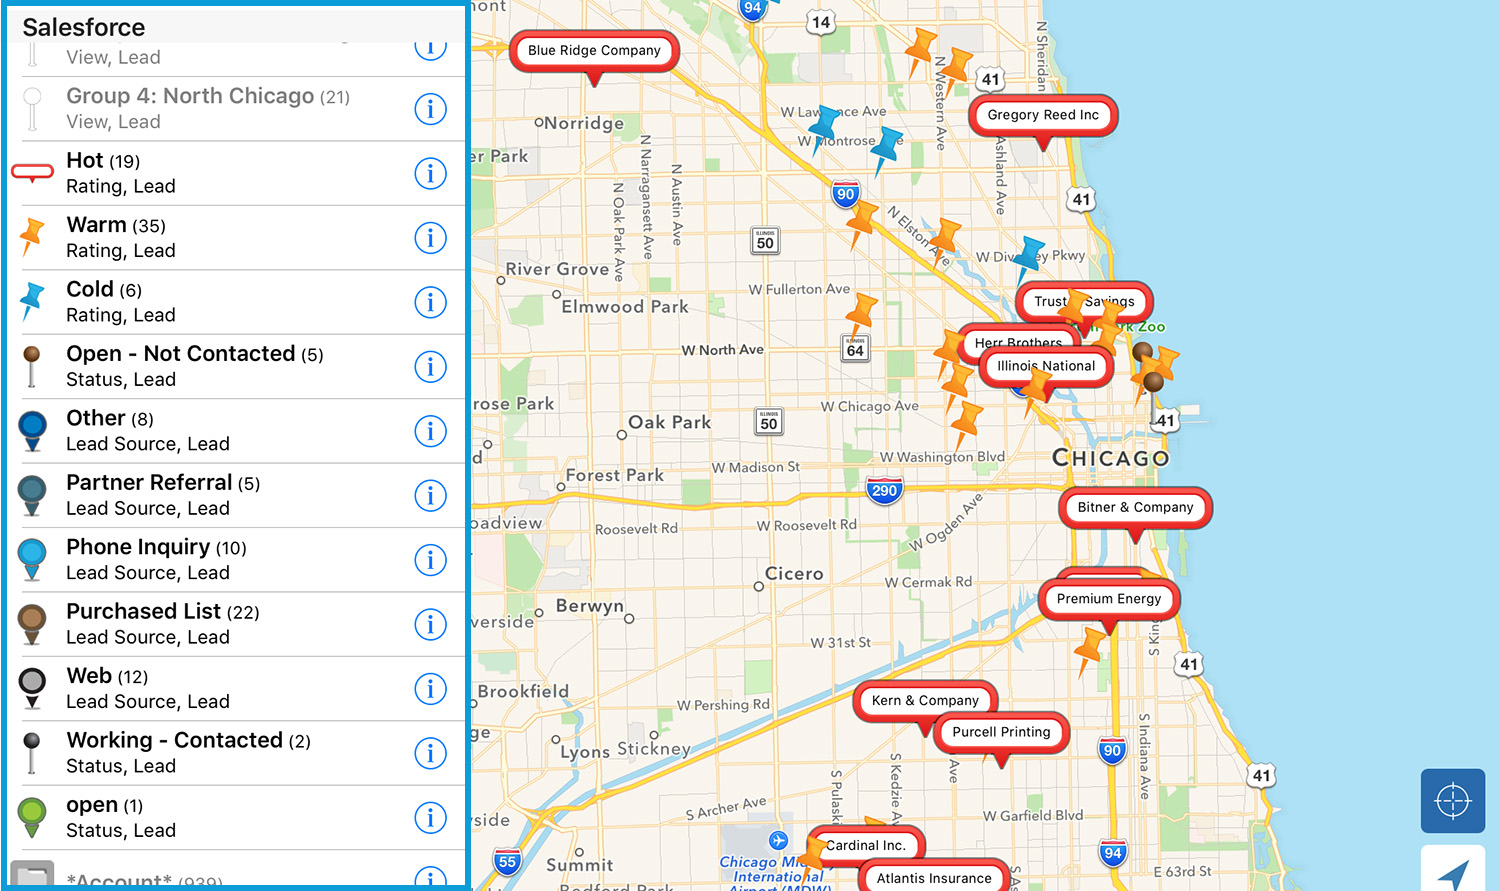
Salesforce groups are created from imported Salesforce data. Salesforce groups are automatically generated by imported objects, views and Salesforce fields with a drop down format. Below the group name, such as ‘Hot’, you can also see the associated field and object names. For example, ‘Hot’ is the value of the pick-list, ‘Rating’ is the field, and ‘Lead’ is the associated object.
To change data between groups, you can edit the field value in Salesforce. For example, change a lead to a rating of ‘Hot’ and it will automatically be added to that group in Sales Navigator.

External Groups
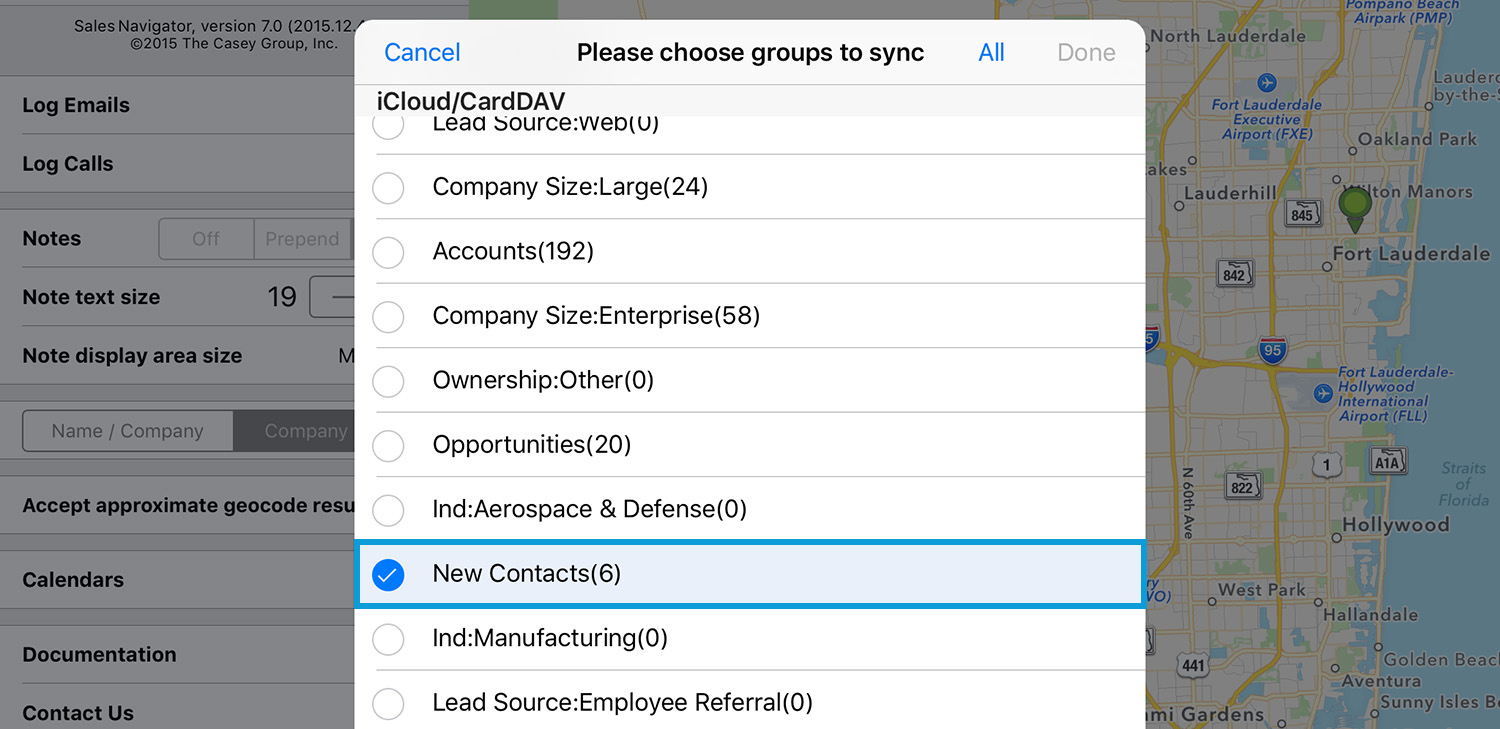
External groups are generated from external contact sources, such as Exchange or Gmail, that are synced with your device address book. Choose which groups you would like to sync from the App Settings.

Groups Menu Overview
- Bookmark Group Filters: when you create a group filter using the advanced filtering capabilities, you can save this filter using the bookmarks icon (
 ). Learn more on bookmarks here.
 - Add New Custom or Salesforce Groups: tap the ( + ) icon to add new groups. Learn more on creating groups here.
- Clear Selections: tap clear selections to turn all groups off.
- Turn On/Off Groups: tap a group name to turn it on/off on the map.
- Customize Group Pins: tap the information icon (
 ) to customize a groups pin.
 - Edit Group List Order: press and hold on a group name to re-organize your group list. **If a contact is a part of two groups, the group nearest to the top will be shown on the map.
- Advanced Filtering: tap ‘Qualify by:’ to access advanced group filtering. Learn more here.
Thanks for using Sales Navigator for Salesforce. If you have any other questions or feedback , please contact us.